There are many jokes in the gardening community making light of the fact that a homegrown tomato is the most expensive tomato you’ll ever eat. This is certainly true for a beginning gardener, as startup costs can have newcomers quickly wondering if it is even worth all the work and expense.
The good news is that there are a thousand ways to cut costs, many of which we will cover in other posts on this website. This article will focus on one of the more expensive recurring costs a gardener will incur: compost.
The cost of compost
While compost can be purchased in bulk from local nurseries and garden centers, most beginners will not go through the trouble of researching, calculating volumes, and transporting in that manner. Your average person (me included) will start by purchasing Black Kow or an equivalent from their local hardware store. Currently at my local Home Depot, a 1 cu.ft. bag of Black Kow will run $6.47. Using their calculator, to cover one of my 4’x12′ raised beds with 3″ of compost, I would need 9 bags. That is nearly $60 in compost for just one of my beds! Factor in any other beds, containers, and row gardens, and that this will need to be done at least every growing season. You can pretty much give up any hope of saving money by growing your own food.
Why not a compost pile?
A typical compost pile is a viable option for anybody with a backyard. These can be constructed in a manner that will suit pretty much any gardener, and they are largely scalable. That said, I am not a fan. For a traditional compost pile to work efficiently, care has to be put into the ratio of brown (dead) material vs green (living) material. For effective composting your pile should be turned regularly, and the internal temperature should be monitored. When it starts to cool, adjustments have to be made by adding more green material and increasing moisture levels. In all, it is far from a hands-off process.
Why chickens make great composting partners
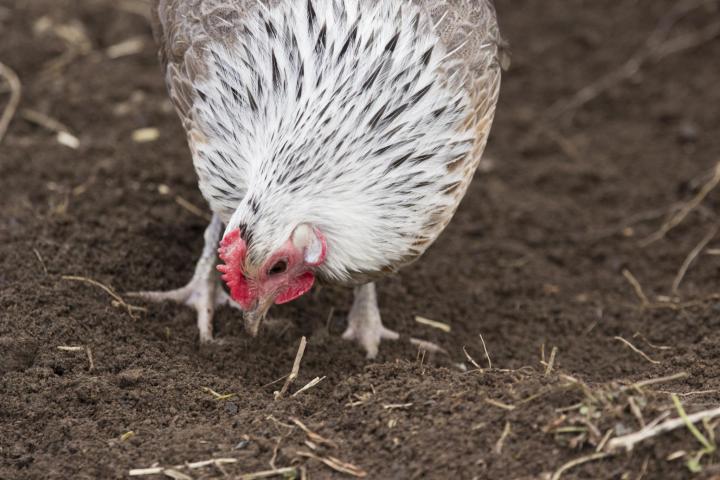
If you already have a flock of laying hens (and if not, what are you waiting for?!), you already have everything you need to make beautiful compost for your garden. Your chickens will make quick work of most of your kitchen scraps, turning them into very potent manure. In addition, they scratch and break down brown and green material put in their run. The manure gets mixed with the quickly decomposing leaves and grass, and in as little as a month, you have compost that can be placed straight in your garden!
Setting Up a Chicken-Friendly Composting System
To begin, your chickens will need to be kept in a run at least part of the time for this method to work. For most suburban homesteaders, this is not an issue.
We use the deep litter method to keep our chicken coop clean and smelling fresh. Put simply, when it starts to get gross, we just add more shavings on top of the old. Every 3-4 months, we rake all of the shavings and poop out of the coop and directly onto the ground in the run. All of that will be quickly broken down and will become part of our beautiful compost. We also regularly add lawn trimmings and bagged leaves (if you don’t have your own, you can grab some from the side of the road each trash pickup day). We also dump our rabbit manure directly into our chicken run!


How the Chicken Composting Cycle Works
Once your leaves/trimmings/ shavings are on the ground, the chickens simply do the rest. They will likely immediately start to scratch through it hoping to find any little morsel they can eat. This scratching will continuously turn your ‘compost’ and will break it down far faster than would occur naturally in a compost heap.

How long does it take, and how do I use my free compost?
In our experience, most things will be very well broken down in a month. Our run is partially covered, and the half that gets rain does break down much faster than the half that remains dry, Of course, this could be sped up by spraying the dry portion down with a hose periodically.
When you have a need for compost, you simply rake the top layer of any larger pieces to the side and dig up the garden gold that is underneath. For small amounts, I just collect it in a five-gallon bucket. For larger amounts I use a wheelbarrow. This can be applied directly to your garden. When finished, add more leaves and lawn trimmings, and put your hens back to work!


Does it work?
Producing free compost using our laying hens has been such a huge game-changer for our garden. Between each growing season (here in north Florida we have two growing seasons each year) we loosen all the soil, and top off with our chicken compost. To show results, I will add photos of two tomato plants we grew last year. Both are of the same variety, planted the same day, in the same manner, and cared for exactly the same way. The only difference between them is that one was topped with compost from our chickens. I will let the photos say the rest.
The first was planted in the previous season’s loosened soil, without compost.

And the second was planted in the same manner, but with about two inches of compost added to the top.

Closing Thoughts: Let Your Chickens Work for You
It is no secret that chickens are the gateway-drug of the homesteading world, and there is no shortage of reasons why. Of course, fresh eggs are always nice to have around. But your chickens can do so much more to make your fledgling homestead more cost-effective and self-sustaining. Let your chickens do the dirty work; your garden will thank you.
